 Previous section
 Return to TactileView manual overview
To read a tactile diagram with ease, it is very helpful to add text information to the design. For example the different parts of a flower or rooms in a building can be labelled in the design to add descriptive information to the image.
Once the text label is added to your document, it can be edited at any time; see Editing text labels. For the other input methods for text labels, see Text label – Braille keyboard input and Text label – Math input.
To place a text label, click on the ‘Add text label’ icon in the drawing tools, then move the mouse to the desired position in the design and click again. You can start typing right away or use Ctrl+V to paste a copied text.
A text label can be positioned anywhere in the design. Leave enough space around texts labels to ensure the braille dots can be distinguished easily, so make sure that text label are not too close to lines in your design. This way you will maintain optimal tactile usability.
When placing a text label, the width of the text label is automatically adjusted to fit within the sheet of paper or within the alignment frame when this is enabled.
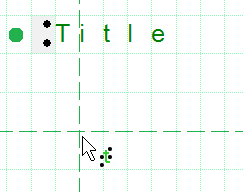
Figure 1. Click in the design to place a text label.
Two functions in the options toolbar allow for more precise placement of text labels. The ‘Centre’ function will horizontally place the label in the middle of the design.
With ‘Text label alignment’ turned on, text labels can be aligned with previously placed labels. Green dotted lines appear in the design when placing or moving a label close to the vertical or horizontal position of other labels. The text label you are adding or moving will then snap to the green line.
You can also use the braille grid as a layout tool for alignment of text labels throughout the document.
Centre text label icon:
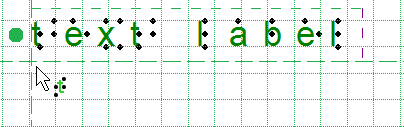
Figure 2. Text label alignment with green dotted lines.
Word wrap length is the maximum number of characters per line of text in a text label. For example, a word wrap length of 10 will divide a text of 25 braille characters into three lines of text. Line breaks will be placed at the position of spaces to avoid breaking up words. The lines of braille text have a fixed height that matches the standardised height of embossed braille text.
The word wrap length can be adjusted by dragging the sides of a text label. The tooltip will display the value of the word wrap length. Alternatively, select ‘Text and position’ from the properties toolbar or context menu of the selected text label to enter a value for the word wrap length.
Figure 3. Adjusting the word wrap size by dragging the sides of the text label; the tooltip signifies the word wrap length.
Text label presentation on screen
The text label is presented on screen by a combination of green characters with black dots that represent the braille characters that will be printed on the braille embosser or on swellpaper. With this setup you are able to have an eye on the braille characters. You can change how text labels are displayed on screen by selecting ‘Text label presentation: on screen’ in the toolbar or via the context menu.
Automatically correct braille: braille tables
The guidelines (so-called braille tables) for how texts are displayed in braille differ internationally. By selecting the correct default braille table via Settings > Braille Tables, the braille in your text labels will automatically be correct. This means that you do not need to have any knowledge of braille to get accurate braille in your designs. For example, braille composition signs for capital letters or numbers are automatically included.
White space behind labels (transparency)
By default, labels have a white space behind and around the braille text to ensure that other design elements do not interfere with the braille. Keep in mind that lines can be covered by the white space if the label is placed too close.
By switching off the white space (making the label transparent) you are able to place the text label on top of lines, but make sure they do not disturb the braille.
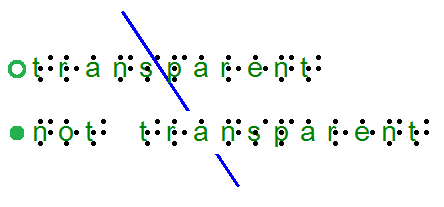
Figure 4. Difference in text label transparency; notice that the line is visible below the top text label, but is covered by the white space of the second label.