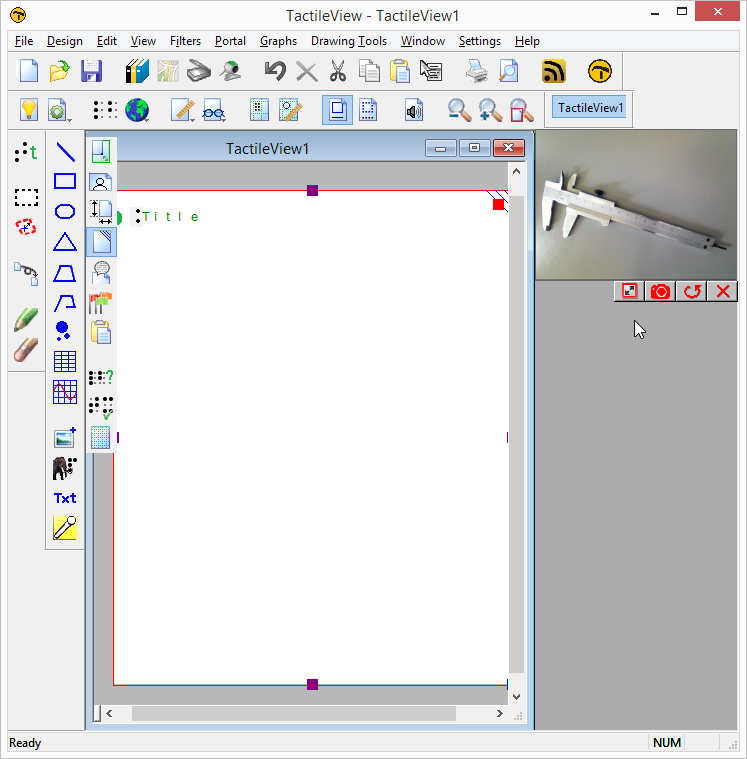
Using a scanner or a webcam offers a flexible method to quickly import existing material you’re your design. Both methods create a bitmap image that will need some processing to turn it into a tactile usable design.
Settings menu – Scanner and Webcam
Make sure the devices are configured in the settings menu dialogs ‘Webcam’ and ‘Scanner’. A message will indicate when your device is not connected or configured when you try to start it.
The scanner will create an image (bitmap) of the scanned document. This way, you can use existing images from text books or documents as a basis for your tactile graphics.
The video content from the selected webcam is displayed in a small window beside the drawing area. The control buttons are available below this window. You can adjust the size of the webcam window by clicking ‘Enlarge/reduce the webcam view’. Pressing the shutter button of the webcam (‘Take webcam snapshot’) will record a snapshot image. You can rotate the webcam image if necessary by clicking ‘Rotate the webcam view’, and shut the webcam window down with ‘Deactivate webcam’.
Existing document or new document
Once you have recorded your scanner or webcam image, you will be asked whether you want to add it to the existing design or insert it in a newly created design. The image will be placed in the top left corner of your design. As the image is inserted as a figure, the size and position of the image can be adjusted .
Further processing
As with all other images (copied from internet or imported from file) further processing is usually required.
– Retouching (pen and eraser): fusing the image with the design bitmap allows you to refine parts of the image.
– Apply filters: colours have to be removed and the image usually has to be converted to a line drawing.
– Use text labels: add a title and other text labels to clarify the different parts of the image
For a full description of the respective tools, see also the section ‘Drawing tools toolbar’.

 Previous section
 Return to TactileView manual overview
