After having created your first raised lines, there are a few more things we would like to bring to your attention. Some are just simply to keep in mind. Others will help to develop a variety of drawing strategies.
05.1 – Orientation of the drawing board and horizontal/vertical lines
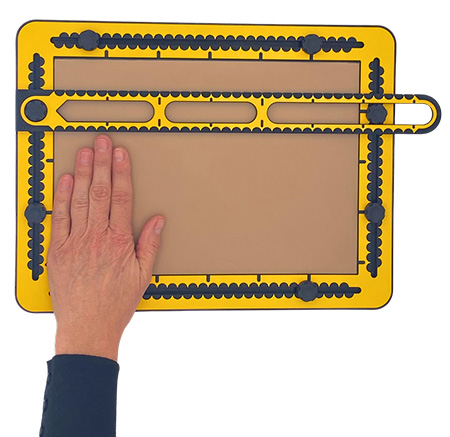
The word ‘orientation’ is used throughout the product descriptions and manual texts. When the drawing board lies flat on the table and the longest side goes from left to right, the drawing board is in landscape orientation. Make sure the hinge is pointing backwards.
When the shortest side is horizontal, the drawing board is in portrait orientation. The hinge should point to the left. Knowing the subject you want to draw, will lead to the orientation of the drawing board you choose. Apart from the orientation, lines drawn on the drawing board can be in the horizontal or vertical direction. Also, moving tools up/down and left/right within the drawing area is possible, independent of orientation.
05.2 – Knowing distances; measuring and estimation
The dimensions of the TactiPad and related products are based on measures that are commonly used. The reasoning behind this is that it becomes easier to get distances ‘in your fingers’, which will make your drawing actions more efficient. It is very helpful to know about the distance you can bridge based on the width of two, three or four of your fingers or the length of your pointing finger.
Play around with the ruler to find out how far you need to spread your thumb and pointing finger for particular distances. Exact measuring is best done with a dedicated tool, but a good estimation is good enough in many cases.
05.3 – Measuring and aligning a tool
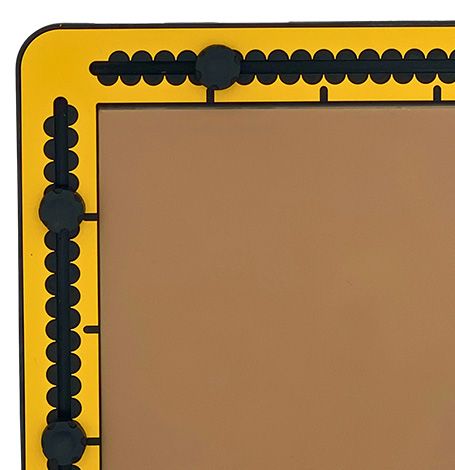
The measurement indications along the frame of the drawing board serve as the main reference for measuring positions across the drawing area. All tools have tactile properties that match these indications. Either with the semi-circular centimetre marks along the top surface, or with small indents along the edges of the tools.
Touching the surface with the fingers and/or listening to the tick sounds that occur when tracing the pen along the indented sides are two methods to ‘read’ distances. So placing one tool adjacent to the other will maintain the regularly measuring system. See the detailed descriptions and manuals of the ruler and TactiForma tools.
05.4 – Knob position and measuring along the drawing board frame
The unscrewed knob can be placed in an exact position by moving it against a finger that is crossing the groove while touching the measurement indication at the desired position. Keep in mind that the knob has a radius of one centimetre and the bodies of the tool also have their width. So you may have to add or deduct one centimetre to end up where you want.
05.5 – Mark a dot with the pen or use pushpins
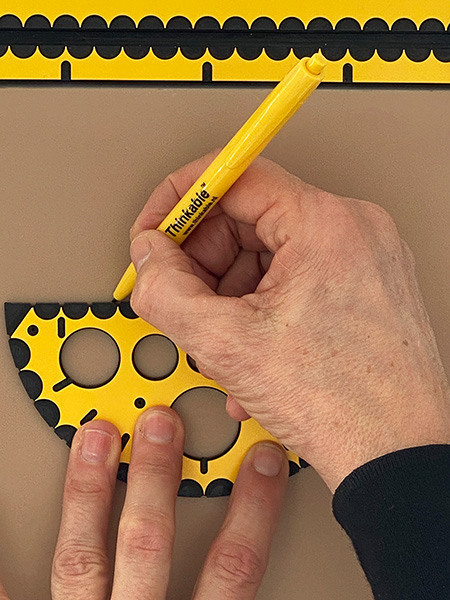
A drawing is never only one line from beginning to end. Curved lines and straight lines under various angles are connected. To mark the start and end position of a line you can press with the pen on the paper. A small tactile marking will appear. This marking can serve as a point of reference. You can use a tool to create a line between.
Two markings; you want the line exactly starting and ending at these markings. That means that the ruler may not cover the markings. Initially it takes some sensitivety to find them. Otherwise, you can place pushpins in the markings first. Than place the tool against the pushpins and draw the line between the two pushpins.
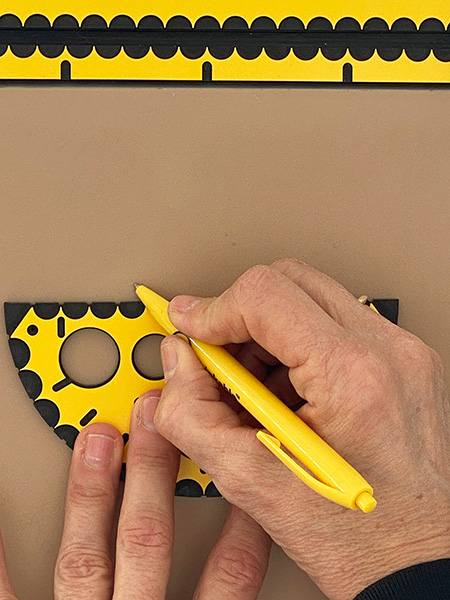
05.6 – Tracing a pen along a tool
The tools are made of plastic and have a thickness of approximately 3.5 milimetres. The tip of the pen has a width of 1.5 milimetres and sticks out from the body only for a short distance. On closer inspection, the edges of the tools are rising up from the drawing area like a steep ramp. Even when the pen is in a fully upright position, the tip might not be exactly against the tool; the body of the pen prevents this.
Instead of a ballpoint pen you can use any other pointy device with a longer tip, but as we have seen before, fully upright is not the best position to hold the pen to perform the pull and push movements. When the pen is tilted away from the tool, the tip can go straight along the tool. This approach works well when using pushpins. When the pen is tilted towards the tool, the tip moves away from the tool, because the body ‘rolls’ off of the ramp.
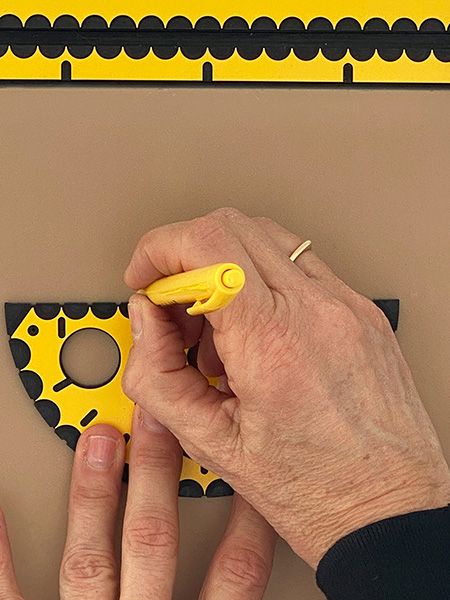
You can use this effect to your benefit when working with marks on the paper. Place the tool just a short distance away from the marks so you still can find them with your fingers. You will get a feel for the tilting angle of the pen.
05.7 – Drawing a straight line
Although we haven’t described the ruler or any other tool in detail up to this point, here is an approach for drawing a straight line. Starting in one of the (end) points and just draw onwards to the other, may cause the pen to pass by this position. To avoid this, find one of the two positions. Draw the line from here only partly in the direction of the other end point. Now start drawing in the other point into the direction of the first. You may draw a section of the line twice, but this doesn’t matter. Pushpins in both end points will serve as pen blockers; the pen will run against the pushpin that tells you to stop drawing any further.
05.8 – Lines covered by a tool
Using a tool to draw lines and shapes bring in more accuracy and speed into the drawing process. The side effect is that the tool could cover part of the already existing lines, which makes it more difficult to find the exact begin/end positions. Therefore, it is worthwhile to look on which side of the foreseen line the tool is placed; left or right from the line.
05.9 – Rotation and angles
In various manual sections you find instructions where tools are rotated over a number of degrees. The lowest/nearest side of the frame to you is the zero degrees reference. So from any position to the right, parallel to the frame is an angle of 0 degrees. Rotating counter-clockwise over an angle of 90 degrees results in a vertical line. Rotating 90 degrees clockwise as well. It is indicated what the rotation point of the tool is; either the centre of the tool or a corner. In some cases, you can use a pushpin as a fixed point for the rotation.
 Previous section

 Table of content