Create tactile graphics with a fully automated stylus
Combine digital precision with the freedom of drawing by hand.
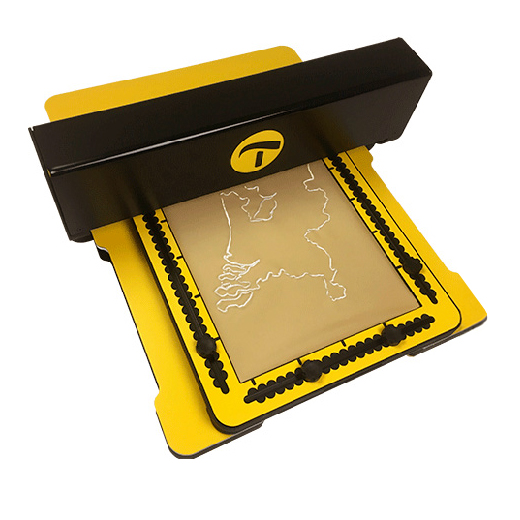
The MDA automatically creates accurate raised-line drawings on the TactiPad drawing board from digital designs, providing the perfect foundation for further refinement.
First, the motor-driven stylus sketches a raised-line drawing. Designs can be created using the built-in drawing tools or imported from external software such as TactileView, or any application that exports SVG files.
Next, enhance the drawing by adding freehand lines, or use the TactiPad tools for even greater precision.
Watch the tactile diagram emerge step by step.