 Previous section
 Return to TactileView manual overview
To install the software after downloading, launch the TactileView installer from the USB drive or download folder. Follow the on-screen prompts to complete the installation. In the last dialog, choose ‘Finish’, then launch the software from the Windows Start menu.
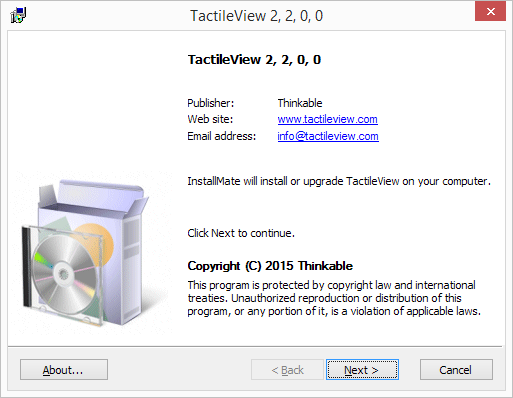
Step 1: Software details. Click ‘Next’ to proceed.
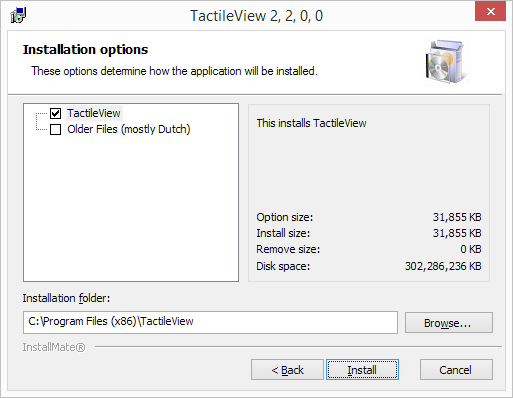
Step 2: Installation options. Select the folder in which TactileView will be installed if necessary and click ‘Install’ to proceed.
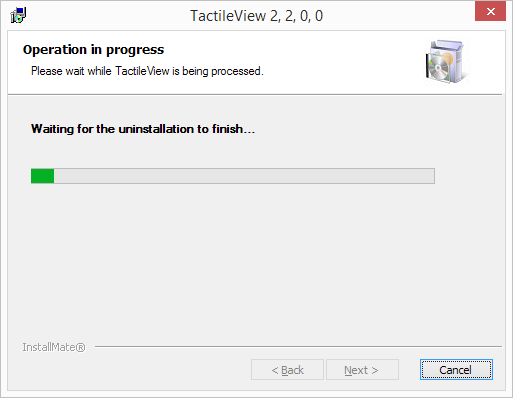
Step 3: TactileView installation. This will be completed automatically.
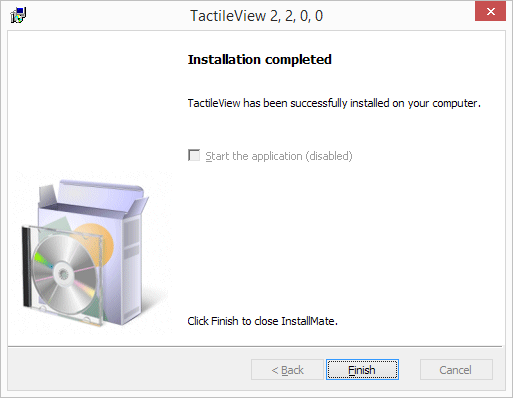
Step 4: Installation has finished. Click ‘Finish’ to close the installer.
First launch
During the first launch you will be asked to select your user language. Select your language from the list, then click ‘OK’ to confirm. Please keep in mind that a number of these user languages have been automatically translated and might not be completely correct.
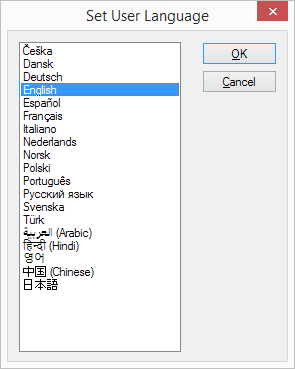
Set user language when launching TactileView for the first time.
Parallel installations
Two TactileView versions from the software generations below and over 2.5 can be installed parallelly on one computer. This way, you can try out a brand new version in free demonstration mode before deciding to upgrade your SPC – but without having to uninstall the version you have currently been working with.