You will probably want to feel your first drawing made with the MDA as soon as possible.
This section explains the quickest way to create your first sketch.
Contents
04.1 – Preparation
04.2 – Connect the MDA
04.3 – Connect to the Wi-Fi hotspot
04.4 – Open the built-in website
04.5 – Start your first sketch
04.6 – What to explore next
04.1 – Preparation
Before you begin, make sure:
- A sheet of drawing foil is fitted in the TactiPad
- The TactiPad is positioned securely on the MDA.
- The MDA is placed on a stable surface.
- There is enough free space around the moving arm.
04.2 – Connect the MDA
- Insert the round power plug into the power socket on the MDA.
- Plug the power cable into a wall socket.
- Press the power button.
The MDA will start up and be ready for use after approximately 15 seconds.
04.3 – Connect to the Wi-Fi hotspot
Use a Wi-Fi enabled device such as a smartphone, tablet or computer.
Then:
- Open the list of available Wi-Fi networks.
- Select MDA-hotspot network.
- Enter the password: 12345678.
Once connected, continue to the next step.
04.4 – Open the built-in website
- Open a web browser.
- Enter the following address: http://mda/.
The built-in MDA website will open.
The website may already appear in your preferred language. If not, you can change the language in the setup section later on. For more detail, see section 05 Built-in website overview and setup.
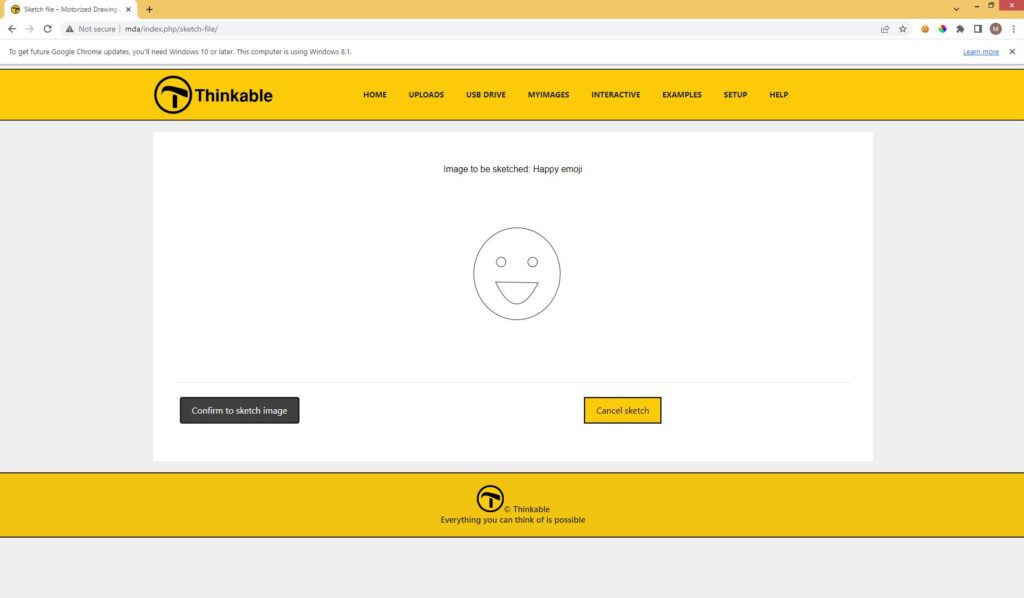
04.5 – Start your first sketch
- At the top of the page, navigate to ‘Examples’.
- Browse the available categories of preloaded images.
- Select a category.
- Choose an image.
- Click on the image to start sketching.
- If asked, confirm that you wish to continue.
- After a few seconds, the MDA will begin moving and create the drawing.
When the sketch is complete
Once finished:
- The arm returns to the rear home position
- You can explore the raised drawing by touch
- You may replace the sheet and try another example
04.6 – What to explore next
To discover more content, continue to sections 07 Sketch utilities and 10 Ideas and suggestions for drawings.
 Previous section

 Table of content