 Previous section
 Return to TactileView manual overview
In this tutorial we will show you the basic steps how to convert an existing image file into a TactileView design that is suitable for tactile use. Some images require less editing than others, so in many cases you can simply skip some of the 12 steps below.
As an example in this tutorial, we will show how to create different tactile birthday cards. Below, we will show how to edit an image from the internet, but any digital image file can be imported as a basis for a tactile design, including a scan from a book, a webcam image or a saved image file from a digital document. The further steps of editing the image will be identical, regardless of the image source.
You can follow along with the video or scroll down to read the step by step guide.
Step by step guide
1. Finding a suitable image (Google image search)
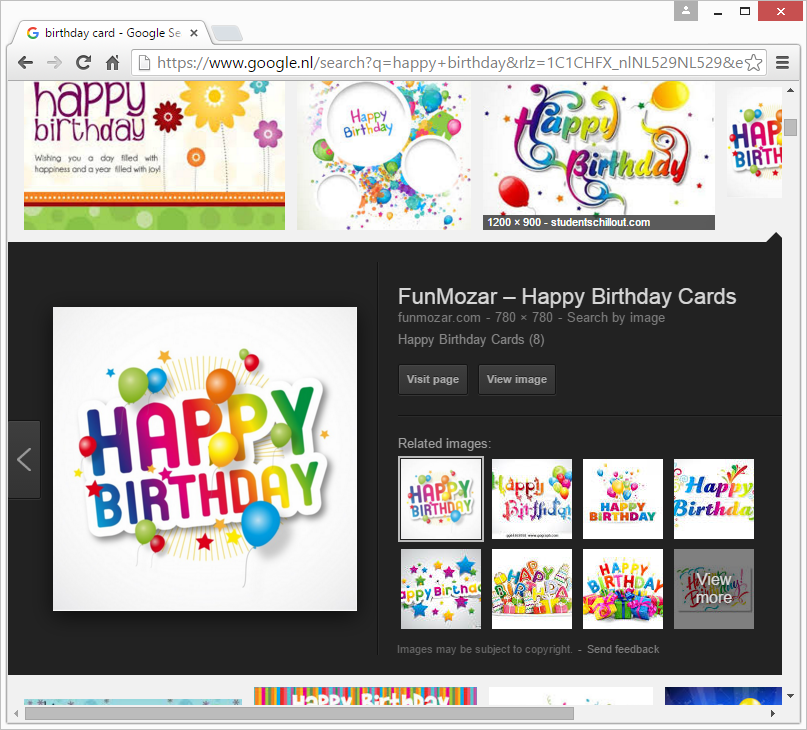
1.1 Use Google Image search to find your image. Go to Google Image search and type in the keyword(s) of the image that you wish to convert. Try different keywords if you cannot find a suitable image, e.g. ‘Mercedes logo’ instead of just ‘Mercedes’. In some cases, using English keywords may give more results than in other languages. Adding ‘drawing’ or ‘clip art’ to the search may also give better results.
See also: Importing images from the internet >

1.2 Refine the Google search results if necessary. Select Search tools > Type > Line drawing for more suitable images if necessary. In general, line drawings or vector images are more easily converted to a tactile image.
See also: Importing images from the internet >
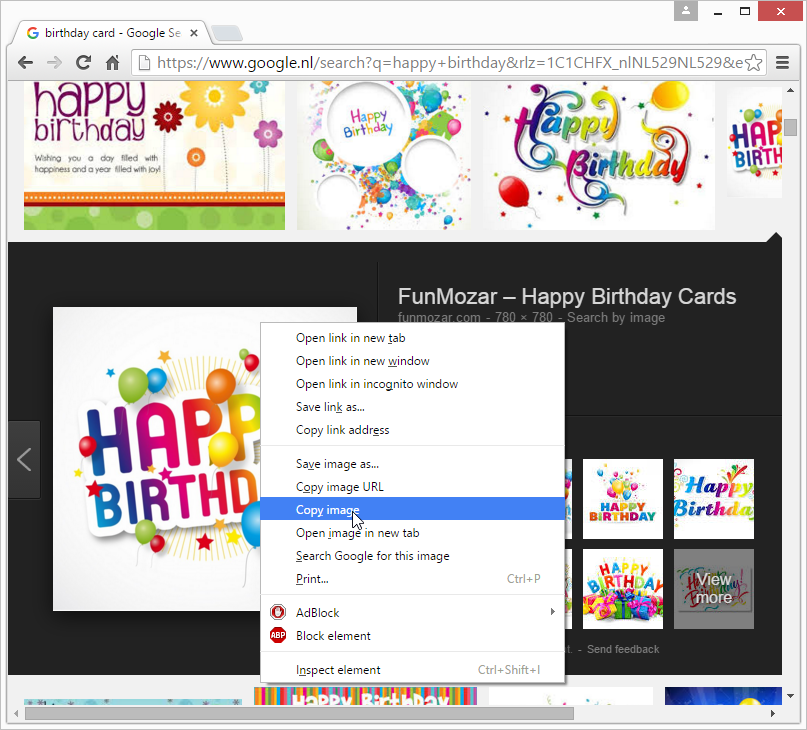
1.3 Select and copy or save the image. Once you have found the right image, select it and right click > Copy image; alternatively, you can right click and save the image on your computer if you wish to save it for later use.
See also: Importing images from the internet >
2. Importing the image in TactileView
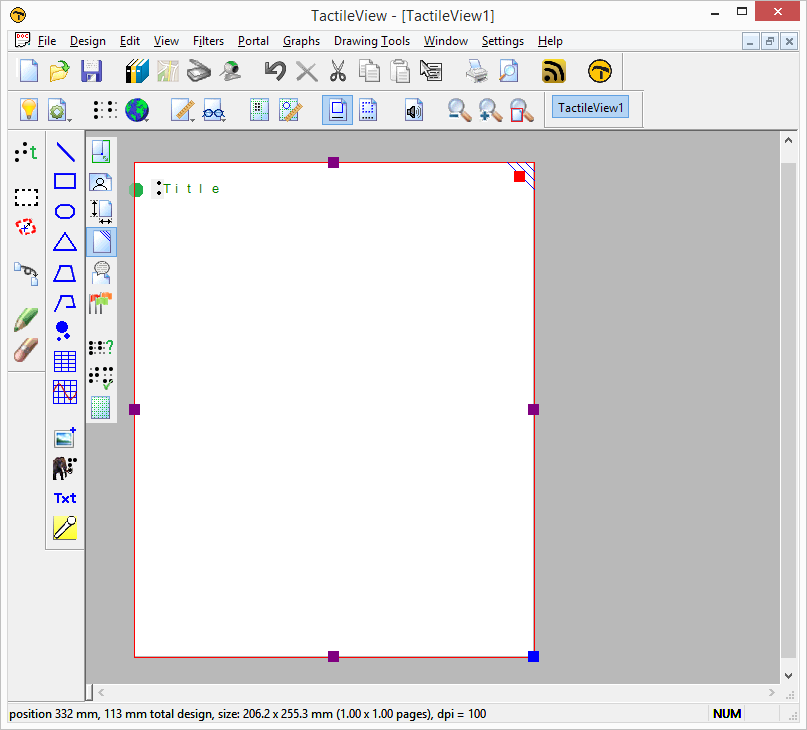
2.1 Create a new design in TactileView. Launch the TactileView software and open a new file.
See also: After launching the software >
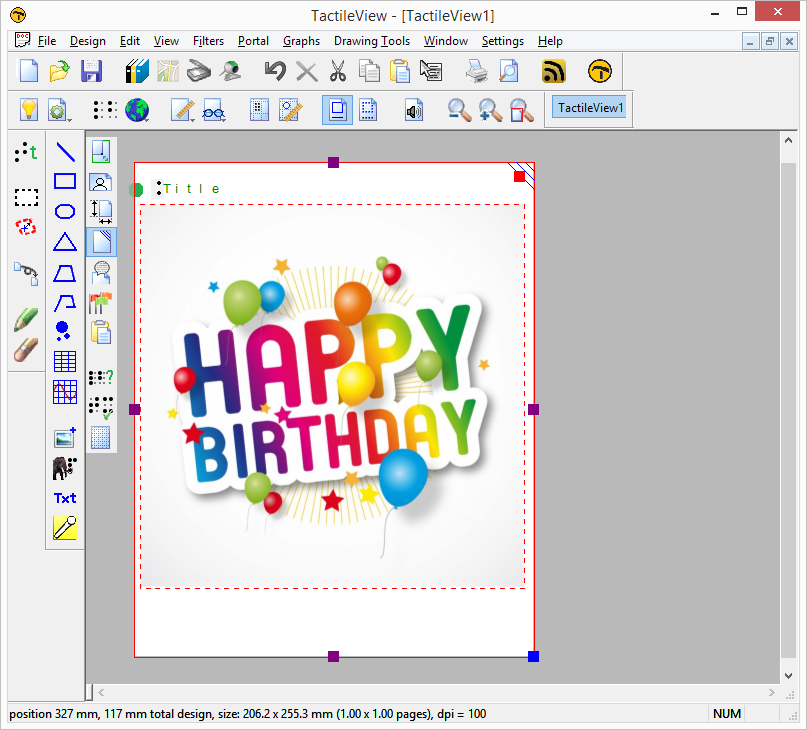
2.2 Option A: Paste the image in the design. If you chose to copy the image, you can right click in the design area and select ‘Paste’ to place the image in the design. Alternatively you can use Ctrl+V or click on the ‘Paste’ icon in the top toolbar.
See also: Importing images from the internet >
Option B: Import the image from file. If you chose to save the image, select the ‘Import’ icon from the drawing tools toolbar and choose ‘Import image from file’. You can also find this option in the File menu. Browse to the file, select ‘Open’ and click on the position in the design where you wish to insert it in the document.
See also: Importing images from file >
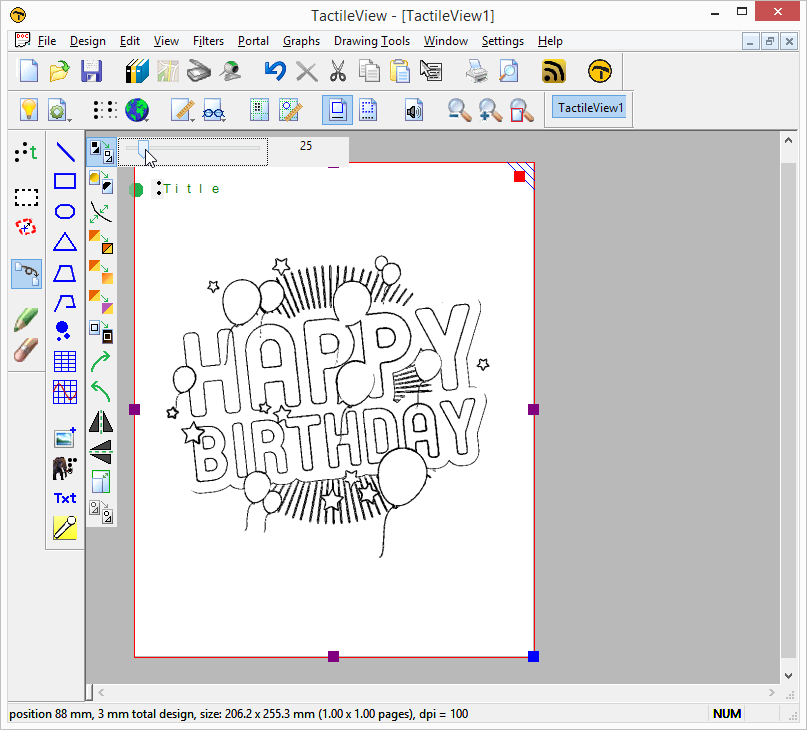
2.3 Resize the image. Make sure that the image is large enough for tactile use and fits well within the design, leaving small margins around the edges. Use the purple markers on the corners and sides to resize the image.
3. Editing the image for tactile use
3.1 Apply an overall filter to make the image suitable for tactile use. Filters help to reduce the complexity of images and filter out the tactile suitable graphic information. In this example, the filter ‘Convert to line drawing’ with a setting of 25 is applied.
See also: Filters; editing an imported image >
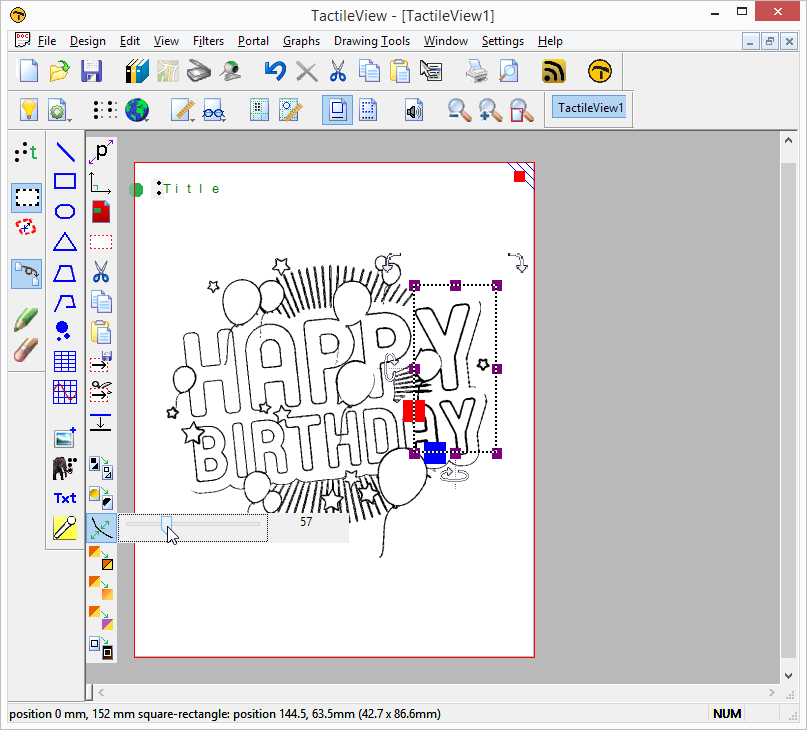
3.2 Apply local filters to adjust a selected area. Some images might require some additional, local adjustments for optimal usability.
See also: Select area; editing parts of the design >
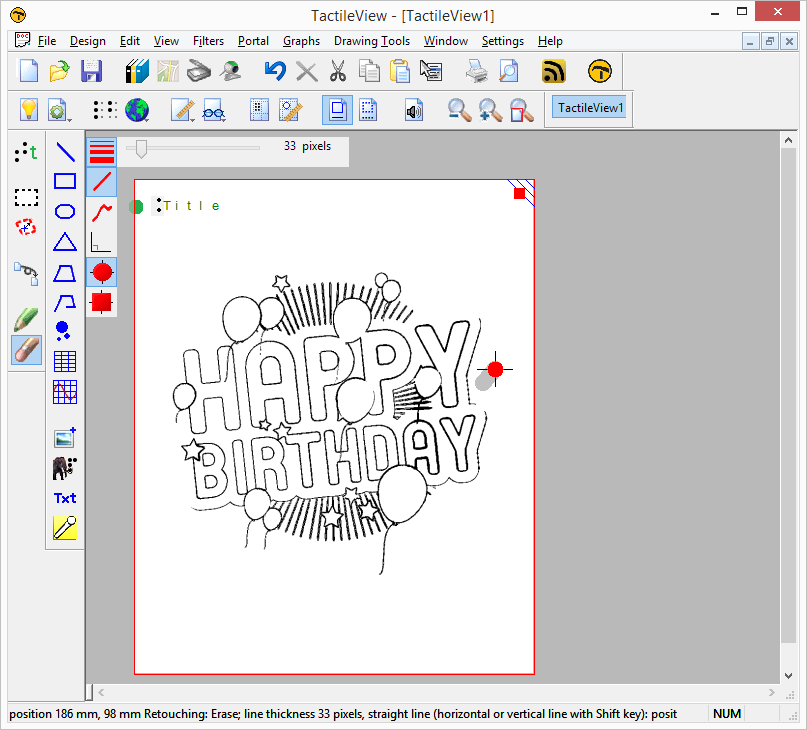
3.3 Retouch the image. Select ‘Retouching: erase’ or ‘Retouching: adding lines’ from the drawing tools toolbar or Drawing tools menu to retouch the filtered image. Use the eraser to remove any unwanted elements or use the pen to fill in any missing parts of the image.
See also: Retouching tools; pen and eraser >
4. Adding explanatory text

4.1 Edit the design’s title label. This text label gives the first description of the design’s contents.
See also: Add text label >

4.2 Replace or clarify any texts in the image with text labels. Use the eraser to remove the existing visual text or add lines that refer to the visual text. Select ‘Add text label’ to insert text labels in braille to replace or clarify the existing texts.
See also: Add text label >

4.3 Add extra text labels required for interpreting the image by touch. These additional labels can make the image easier to interpret for the VIP reader.
See also: Add text label >