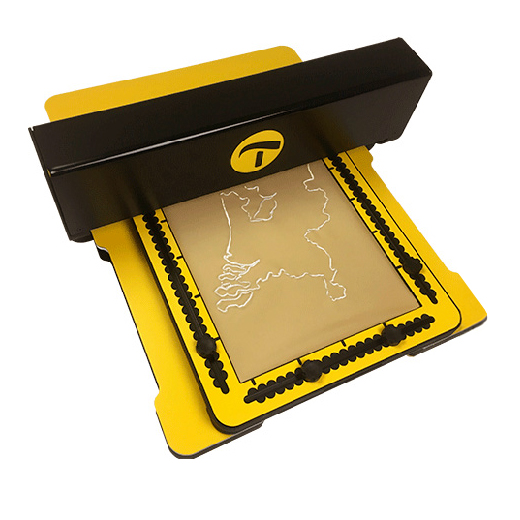
01.1 – Create tactile graphics with ease
The MDA is designed to make the creation of tactile graphics faster, easier and more flexible. This manual will help you get the most from your MDA. It covers everything from unpacking and setup to creating drawings, connecting to networks and the application of third-party software.
Above all it gives you ideas and suggestions to apply the MDA on a day-to-day basis.
You may read the sections in any order, but we recommend reading the full manual to gain the best understanding of the system.
01.2 – Contents
Getting started
When you receive the MDA, it is securely packed in a protective box. To begin, see: 02 Unboxing the MDA
Once unpacked, familiarise yourself with the unit, its parts and how it operates: 03 Tour of the MDA
If you would like to begin drawing straight away, read about: 04 Your first sketch
Setup and connection
The MDA is configured and controlled through a web browser. Learn more in: 05 Built in website overview and setup
By connecting the MDA to a network, you can work more flexibly and allow access for multiple users. For more information, see: 06 Wired or Wireless Network
Creating drawings
To create drawings directly from the built-in website, see: 07 Sketch Utilities
You can also use third-party software to design images for the MDA. Any file saved in Scalable Vector Graphics (SVG) format can be sketched. A commonly used option is TactileView. See: 08 Third-Party Software and SVG File Format
Support and safety
The MDA contains electronic and mechanical components. For important information on safe use and problem solving, see: 09 Safety and troubleshooting
Inspiration and best use
The MDA can be used to produce raised-line drawings for education, orientation, training and many other purposes, tailored to your own needs. For practical ideas and guidance, see: 10 Ideas and suggestions for drawings
 This is the first section

 Table of content